Use Terminal and host files
Open an authorized container shell or set up restricted Linux host access.
LogForge · Runs in your infrastructure
A container terminal runs inside the selected application container. Container Files reads files in that container, including mounted data.
Host Terminal and Files operate on the Linux server itself. Host Files is limited to the folders selected by its administrator. For the server, use Set up host Terminal and Files.
Before you begin
- Target: a monitored, running Linux Docker container, with
/bin/sh, readable/proc, and a connected agent. - Access: Owner/Admin, or a Member with environment access and separate Terminal permission in People & Access.
- Where: LogForge in your browser. No local shell or source checkout needed.
Commands can change data: the shell runs as the container's configured user, including access to mounted data. Choose a disposable container or a workload you may inspect.
View or Operate alone does not grant a shell. Kubernetes Terminal is not implemented.
Start, check, and disconnect
- Open Overview > Hosts, expand the host, select the container, then Terminal.
- Choose Start terminal. Wait for Connected to container and recheck the workload name. No typed reason is needed.
- Run this harmless command in the browser terminal:
pwd
- Check the printed directory, then choose Disconnect.
Check: the command ran inside your selected container and the page reports disconnection.
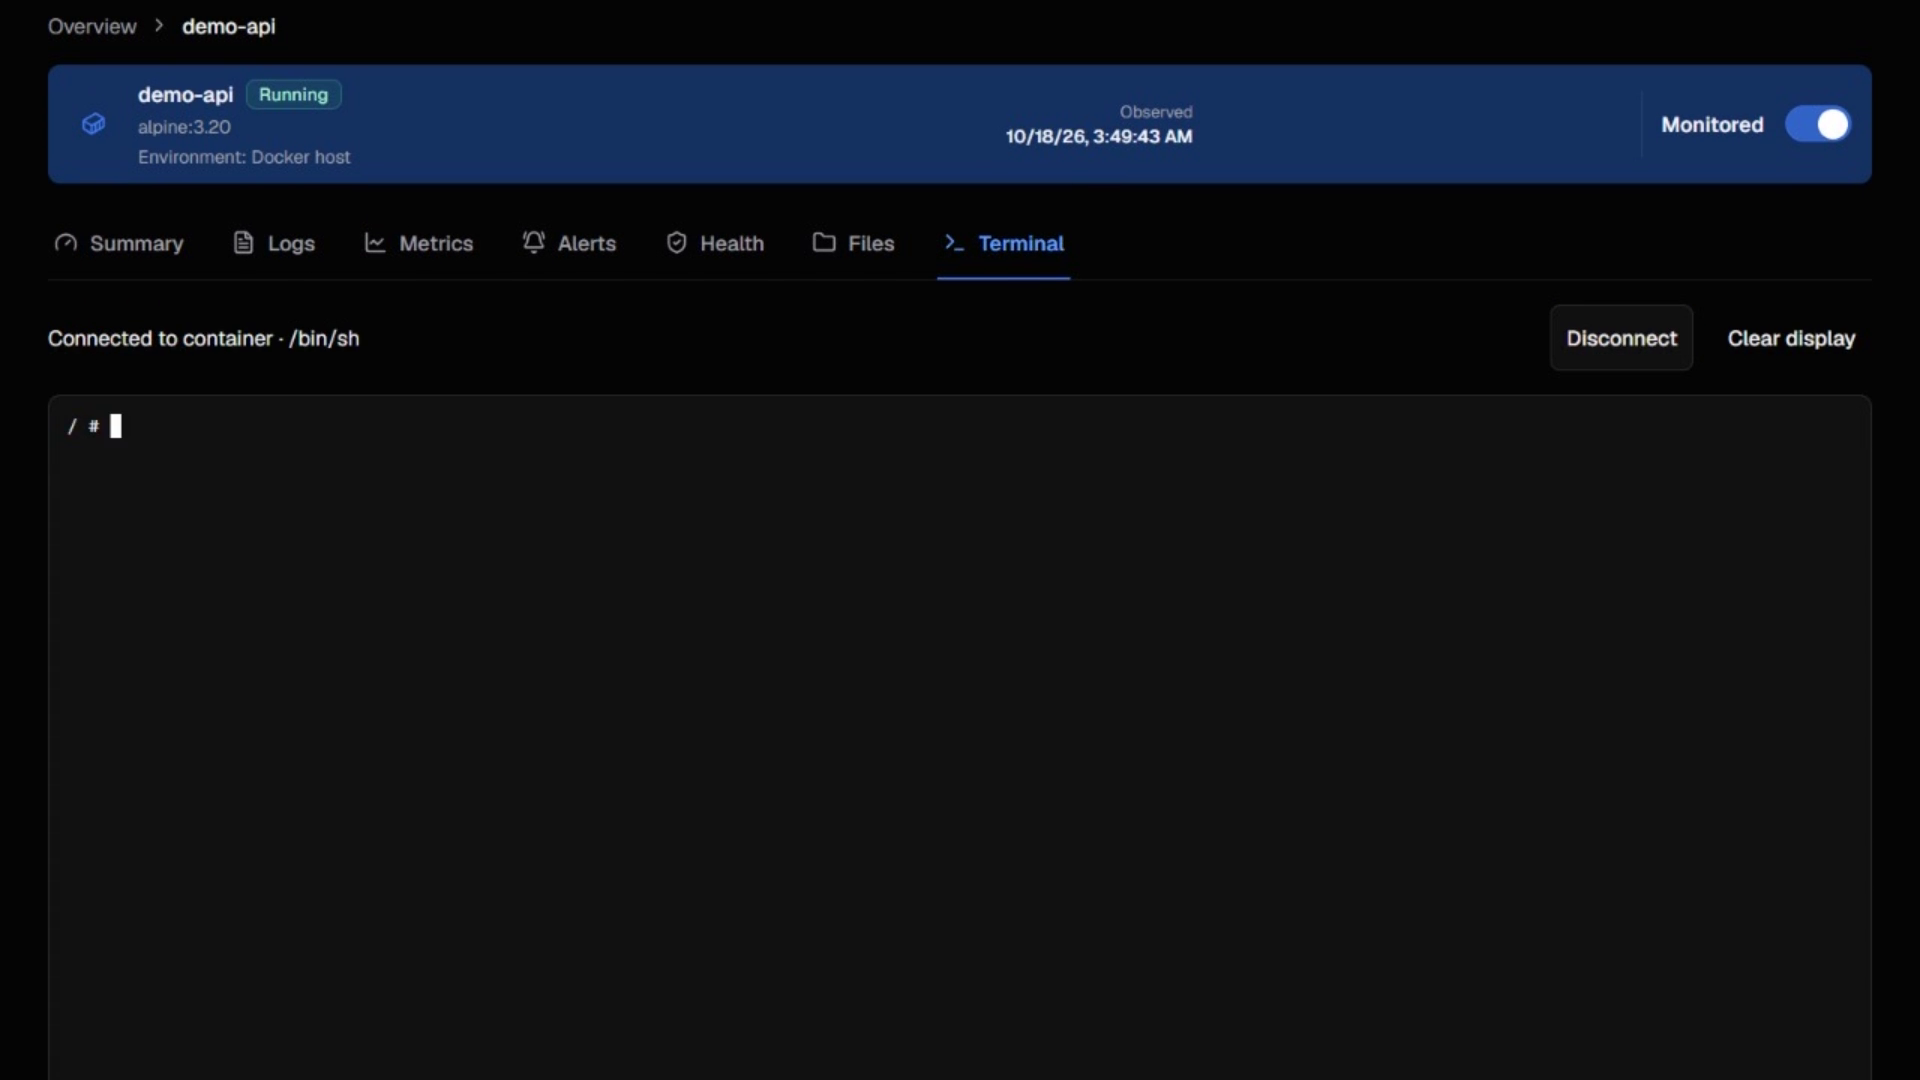
Example connected Docker shell. Select an image to open it full size.
Disconnect ends the session. Clear display only clears visible output.
Session limits and resume
- Leaving the page ends the session.
- Sessions close after 5 minutes without input or 30 minutes total.
- Reopening starts a new shell. Disconnections do not replay commands.
- Detached processes can keep running after disconnect.
To continue, reopen the container and choose Start terminal for a fresh session. Check an earlier command's outcome before repeating it. The audit records permission checks and session details, not typed commands or output.
If the session is unavailable
Problem: Terminal is denied, fails to connect, or disconnects.
Why it matters: access, shell availability, container state, and agent connectivity must all be ready.
Next step: check the container is running and monitored, /bin/sh exists, and the agent is connected. Ask the Owner/Admin to review effective Terminal access, including teams. Read the displayed reason before retrying; do not grant Admin just to test a shell. Share a reason/request identifier when asking for help, with secrets excluded.
Set up host Terminal and Files
Release scope: these host setup steps are verified for 2026.11.03.64 on native Linux AMD64 Docker. Use the supported update procedure for an earlier installation first.
Use the installed release's Set up host access action. Real ARM hardware qualification remains separate.
Before starting, sign in as the deployment Owner. The Linux server needs systemd, Compose v2, administrator access and a healthy Docker Remote Agent installed using its generated Compose bundle. Keep its installed files, enrollment and updater data.
- Open Overview, find the Docker host and choose Host terminal and files.
- If the native helper is unavailable and your account has setup permission, select Set up host access, then Download identity. Transfer that JSON file to the intended server. It contains the deployment/agent IDs and public signing keys.
- Choose Allow Terminal as the restricted OS account if you need a host shell. The default enables read-only Files.
- Select Copy setup command. Open an administrator shell on that server, in the folder containing the identity file, and run the copied command. It uses the helper packaged with the installed agent image. The same agent briefly reconnects.
- Expect Host access is configured. Return to LogForge and select Check again.
Setup creates a password-locked, non-root logforge-host OS account. Files initially reads /srv/logforge-host; an administrator can place a harmless text file there for verification. Terminal can change anything that OS account permits. Product permissions and local host policy both apply.
Verify the actual host
- In Terminal, run
idandhostname. Check the non-root account and the Linux server's hostname. - In Files, list
/srv/logforge-hostand preview the text file. A folder outside the permitted roots must be denied. - Sign in as a Member without the corresponding host or Terminal grants. Confirm access is denied; assigning an environment alone does not grant a shell.
- If the agent updater is connected, check the same agent is Ready with its verified current version in Settings > Updates & releases.
An administrator can also check and restart the helper:
sudo systemctl is-active logforge-host-executor.service
sudo systemctl restart logforge-host-executor.service
Expect active before the restart. Select Check again and repeat the Files preview afterward.
Select another OS account or folder
Append --user app-support --read-root /srv/my-app to the final install line in the copied command, using your actual existing non-root account and readable folder. Repeating --read-root selects several roots. Files stays read-only; setup preserves existing folder permissions.
For a deliberately nonstandard agent installation, adjust environment_file and docker_socket near the top of the copied command to the existing absolute paths. Keep the downloaded identity and use the same command for a retry. A retained updater must be managed by systemd; a detached updater is preserved and refused. For a nonstandard systemd updater, append --updater-data-root /absolute/path/to/agent-updater to the final install line. Unfinished updates or unexpected local changes refuse setup.
Host setup establishes a new updater configuration baseline and keeps the earlier records. Earlier restore actions cannot apply to the changed configuration. Future updates and qualified restores use the new baseline.
Problem: the native helper remains unavailable or setup refuses.
Why it matters: the server's OS policy and its enrolled agent must agree before host access is allowed.
Next step: read the setup error, correct the selected host, paths or OS permissions, and rerun the same command. Inspect sudo systemctl status logforge-host-executor.service locally for a service failure. Preserve installed state and any unfinished updater operation; use its normal recovery controls.